Travel Photography Tips for Beginners: Capture Stunning Shots
Have you ever returned from a trip, scrolled through your photos, and felt a pang of disappointment? You saw breathtaking views, experienced incredible moments, but your pictures just don’t do them justice. Don’t worry, you’re not alone! Many beginners struggle to translate what they see and feel into compelling images. The good news? With a few fundamental travel photography tips for beginners, you can significantly elevate your travel photos, turning everyday snapshots into memorable works of art.
In my 5 years of dedicated travel photography, I’ve learned that it’s not just about having the most expensive gear; it’s about understanding how to use what you have and seeing the world through a photographer’s eye. This guide is packed with practical advice, from choosing the right equipment to mastering composition and editing, all designed to help you capture your travels like a seasoned pro, starting today.
Table of Contents
- What Gear Do Beginners Actually Need?
- Mastering Composition: The Foundation of Great Photos
- Harnessing Light: Your Most Powerful Tool
- Understanding Camera Settings for Travel
- Telling a Story with Your Travel Photos
- Simple Editing Tips for a Polished Look
- Avoid These Common Beginner Travel Photography Mistakes
- Frequently Asked Questions
What Gear Do Beginners Actually Need?
Let’s tackle the gear question head-on. When I first started, I felt overwhelmed by all the camera options. I even bought a bulky DSLR that ended up weighing me down. In hindsight, I wish I’d focused on versatility and portability. For beginners, a good smartphone with a capable camera is often enough to start. Modern smartphones can produce incredible results, especially in good light.
If you’re ready for a dedicated camera, consider a mirrorless camera or a high-quality compact camera. These offer better image quality and manual controls than most phones without the bulk of a full DSLR. Look for a versatile zoom lens, something like a 24-70mm equivalent, which covers wide landscapes and decent telephoto shots. Don’t forget extra batteries and memory cards – running out of power or space is a photographer’s nightmare!
Mastering Composition: The Foundation of Great Photos
Composition is how you arrange elements within your frame. It’s the secret sauce that makes a photo visually appealing. The most fundamental rule, and one that’s surprisingly easy to implement, is the Rule of Thirds. Imagine your frame divided into nine equal sections by two horizontal and two vertical lines. Placing your main subject along these lines or at their intersections creates a more balanced and engaging image.
Another powerful technique is leading lines. These are natural or man-made lines in your scene—like a winding path, a river, or a fence—that draw the viewer’s eye into the photograph, often towards your subject. Experiment with different angles too. Don’t just shoot from eye level. Get low to emphasize foreground elements or find a higher vantage point for a grander perspective.
Consider symmetry and patterns. If you find a symmetrical scene, like a reflection in water or an architectural facade, centering your subject can be very effective. Look for repeating elements that create visual rhythm. These basic composition techniques will dramatically improve your travel photos instantly.
Harnessing Light: Your Most Powerful Tool
Light is everything in photography. Understanding how to use it is crucial. The harsh midday sun can create strong, unflattering shadows and blow out highlights. My personal preference is to shoot during the ‘golden hours’ – the period shortly after sunrise and before sunset. During these times, the light is soft, warm, and directional, casting beautiful long shadows that add depth and mood to your images.
When shooting in bright sunlight, look for shade or use the light creatively. Sometimes, shooting directly into the light (backlighting) can create dramatic silhouettes or rim lighting effects. If you’re indoors, find a window. Natural light is almost always more flattering than artificial light. Position your subject near the window and use the available light to illuminate them.
Don’t be afraid of cloudy days either! Overcast skies act like a giant softbox, providing diffused light that’s perfect for portraits and capturing vibrant colors without harsh shadows. I remember a trip to the Scottish Highlands where it was perpetually overcast, but the diffused light made the greens and blues incredibly rich.
Understanding Camera Settings for Travel
For beginners using a camera beyond auto mode, understanding a few key settings is essential. Aperture controls the depth of field – how much of your image is in focus. A wide aperture (small f-number like f/1.8) creates a shallow depth of field, blurring the background and making your subject pop. This is great for portraits. A narrow aperture (large f-number like f/16) keeps more of the scene in focus, ideal for landscapes.
Shutter speed controls how long the camera’s sensor is exposed to light. A fast shutter speed (e.g., 1/1000s) freezes motion, perfect for capturing action. A slow shutter speed (e.g., 1/30s or longer) can create motion blur, useful for silky water effects or light trails at night. Be careful with slow shutter speeds, as camera shake can ruin a shot; a tripod is often necessary.
ISO determines the sensor’s sensitivity to light. A low ISO (like 100 or 200) produces the cleanest images with minimal noise (grain). Increase ISO in low-light situations when you can’t use a slower shutter speed or wider aperture, but be aware that higher ISOs introduce more noise. Finding the right balance between aperture, shutter speed, and ISO (the exposure triangle) is key to getting well-exposed photos.
Telling a Story with Your Travel Photos
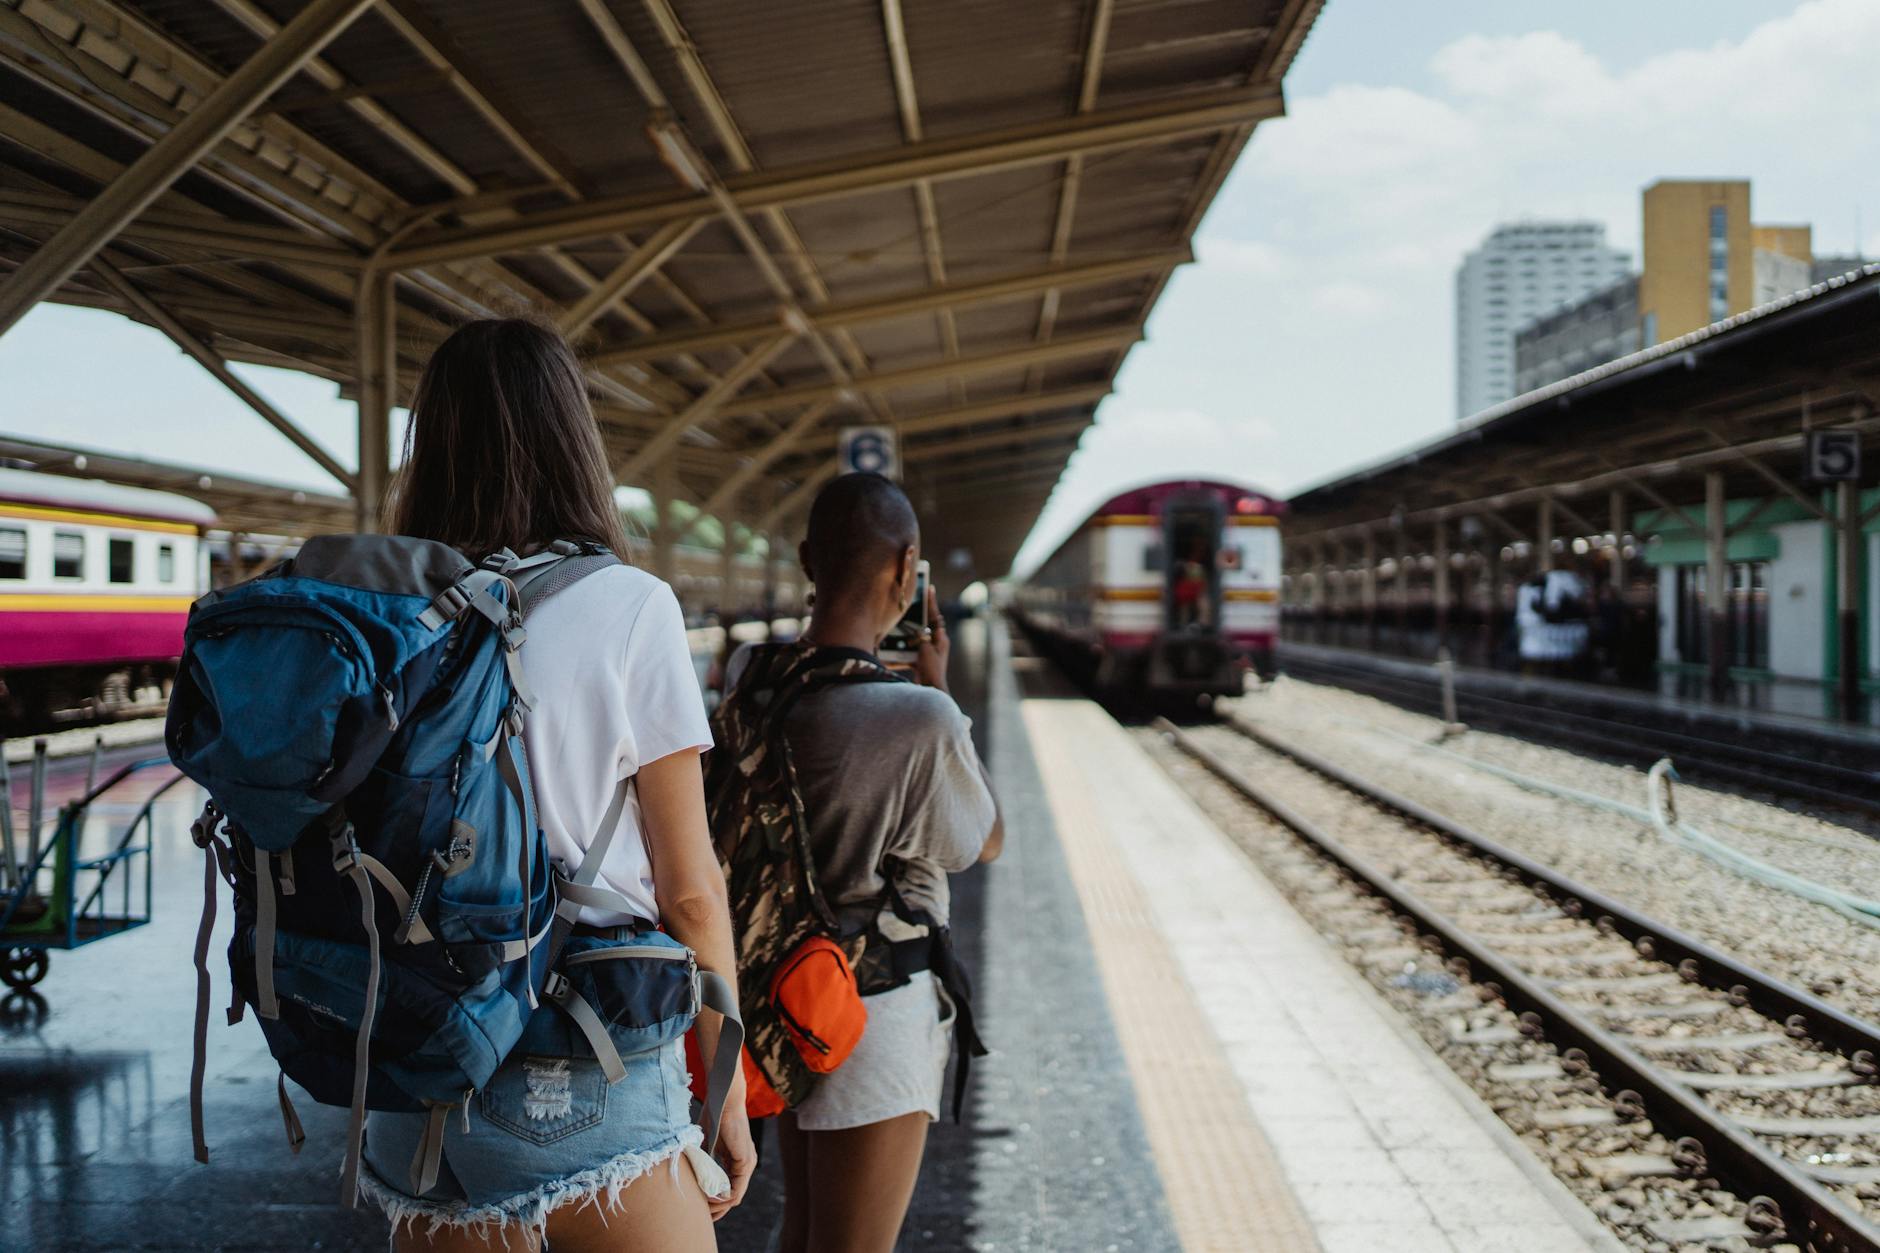
The most memorable travel photos don’t just show a place; they tell a story. Think about the narrative you want to convey. Are you focusing on the people, the culture, the food, the landscapes, or the overall atmosphere? Try to capture details that evoke emotion and provide context.
For instance, instead of just a wide shot of a market, try capturing a close-up of a vendor’s hands arranging colorful spices, or a candid shot of shoppers interacting. These details add layers to your story. Capture wide shots for context, medium shots to show relationships between subjects, and close-ups for detail and emotion. This variety helps create a visual narrative that draws viewers in.
I recall a trip to Vietnam where I focused on capturing the daily lives of people along the Mekong Delta. Shots of fishermen casting nets at dawn, women paddling small boats laden with fruit, and children playing on the riverbanks told a much richer story than just postcard-perfect landscapes alone. This approach made my travelogue far more engaging.
Simple Editing Tips for a Polished Look
Editing is the final step in bringing your travel photos to life. You don’t need to be a Photoshop wizard; simple adjustments can make a huge difference. Most smartphones and cameras come with basic editing tools, and free apps like Snapseed or Adobe Lightroom Mobile are excellent starting points.
Focus on basic adjustments first: exposure (brightness), contrast, saturation (color intensity), and white balance (color temperature). Correcting the white balance can make a photo look more natural. Boosting saturation slightly can make colors pop, but be careful not to overdo it, which can look artificial. Cropping and straightening can improve composition significantly.
A common mistake beginners make is over-editing. Aim for a natural look that enhances the original scene, rather than creating something unrealistic. Subtle adjustments are usually best. Think of editing as refining your vision, not creating a new one.
Featured Snippet Answer: Travel photography tips for beginners focus on using available light, mastering basic composition like the Rule of Thirds, and understanding your camera’s settings. Start with simple gear, capture details that tell a story, and use subtle editing to enhance your images, turning vacation snapshots into compelling visual memories.
Avoid These Common Beginner Travel Photography Mistakes
One of the biggest mistakes I see beginners make is shooting only in the middle of the day. As mentioned, the harsh light can be very unflattering. Plan your shooting schedule around the golden hours for softer, more appealing light. Another common error is neglecting the background. Always check what’s behind your subject – a distracting element can ruin an otherwise great shot.
Furthermore, many beginners are hesitant to interact with locals or photograph people. While respecting privacy is key, a friendly smile and a request can often lead to incredible portraits and genuine cultural insights. Don’t be afraid to ask! Also, many people rely solely on auto mode, missing out on the creative control that manual or semi-automatic modes offer.
Finally, resist the urge to buy every piece of gear advertised. Start simple, learn your equipment, and only invest in new tools when you truly need them. Over-accessorizing can lead to clutter and missed opportunities.
In 2023, a survey by [Your Photography Blog Name – e.g., ‘LensLife’] found that 78% of amateur photographers identified ‘understanding light’ as the most challenging aspect of improving their photography, followed by 65% who struggled with composition. This highlights the importance of focusing on these fundamental elements.
Frequently Asked Questions
What is the best camera for travel photography beginners?
A good smartphone with a high-quality camera is an excellent starting point. If you want a dedicated camera, consider a compact camera or a mirrorless camera with a versatile zoom lens. Prioritize portability and ease of use over complex features for your first dedicated camera.
How can I improve my travel photos without expensive gear?
Focus on mastering composition techniques like the Rule of Thirds and leading lines. Pay close attention to natural light, especially during golden hours. Practice storytelling by capturing details and candid moments. Learn basic editing skills to enhance your photos, all of which require minimal or no extra cost.
What are the most important camera settings for travel?
Understanding aperture for depth of field, shutter speed for motion, and ISO for light sensitivity is key. Learn how these settings interact (the exposure triangle). For general travel, a balanced approach often involves aperture priority mode with a mid-range aperture and ISO, adjusting shutter speed as needed.
How do I make my travel photos look more professional?
Professional photos often have strong composition, good lighting, and subtle enhancements. Ensure your subject is well-placed, utilize natural light effectively, and consider the background. Learn basic post-processing to correct exposure, contrast, and color. Capturing authentic moments and telling a story also adds a professional touch.
Should I shoot in RAW or JPEG for travel photography?
For beginners, JPEG is simpler and ready to share. However, RAW files offer much more flexibility in post-processing, allowing you to recover details and correct errors more effectively. If you plan to edit your photos seriously, shooting in RAW is highly recommended, though it requires more storage space and editing software.
Learning travel photography is a journey, not a destination. By applying these travel photography tips for beginners, you’re well on your way to capturing the world in a way that truly reflects your experiences. Keep practicing, stay curious, and most importantly, have fun documenting your adventures!